
Once we got the site all cleaned up, the foundation redesigned to fit into the shoring wall, and everything measured and marked (the walls are starting to look like a New York subway, with graffiti everywhere!), our construction work resumed at full speed.
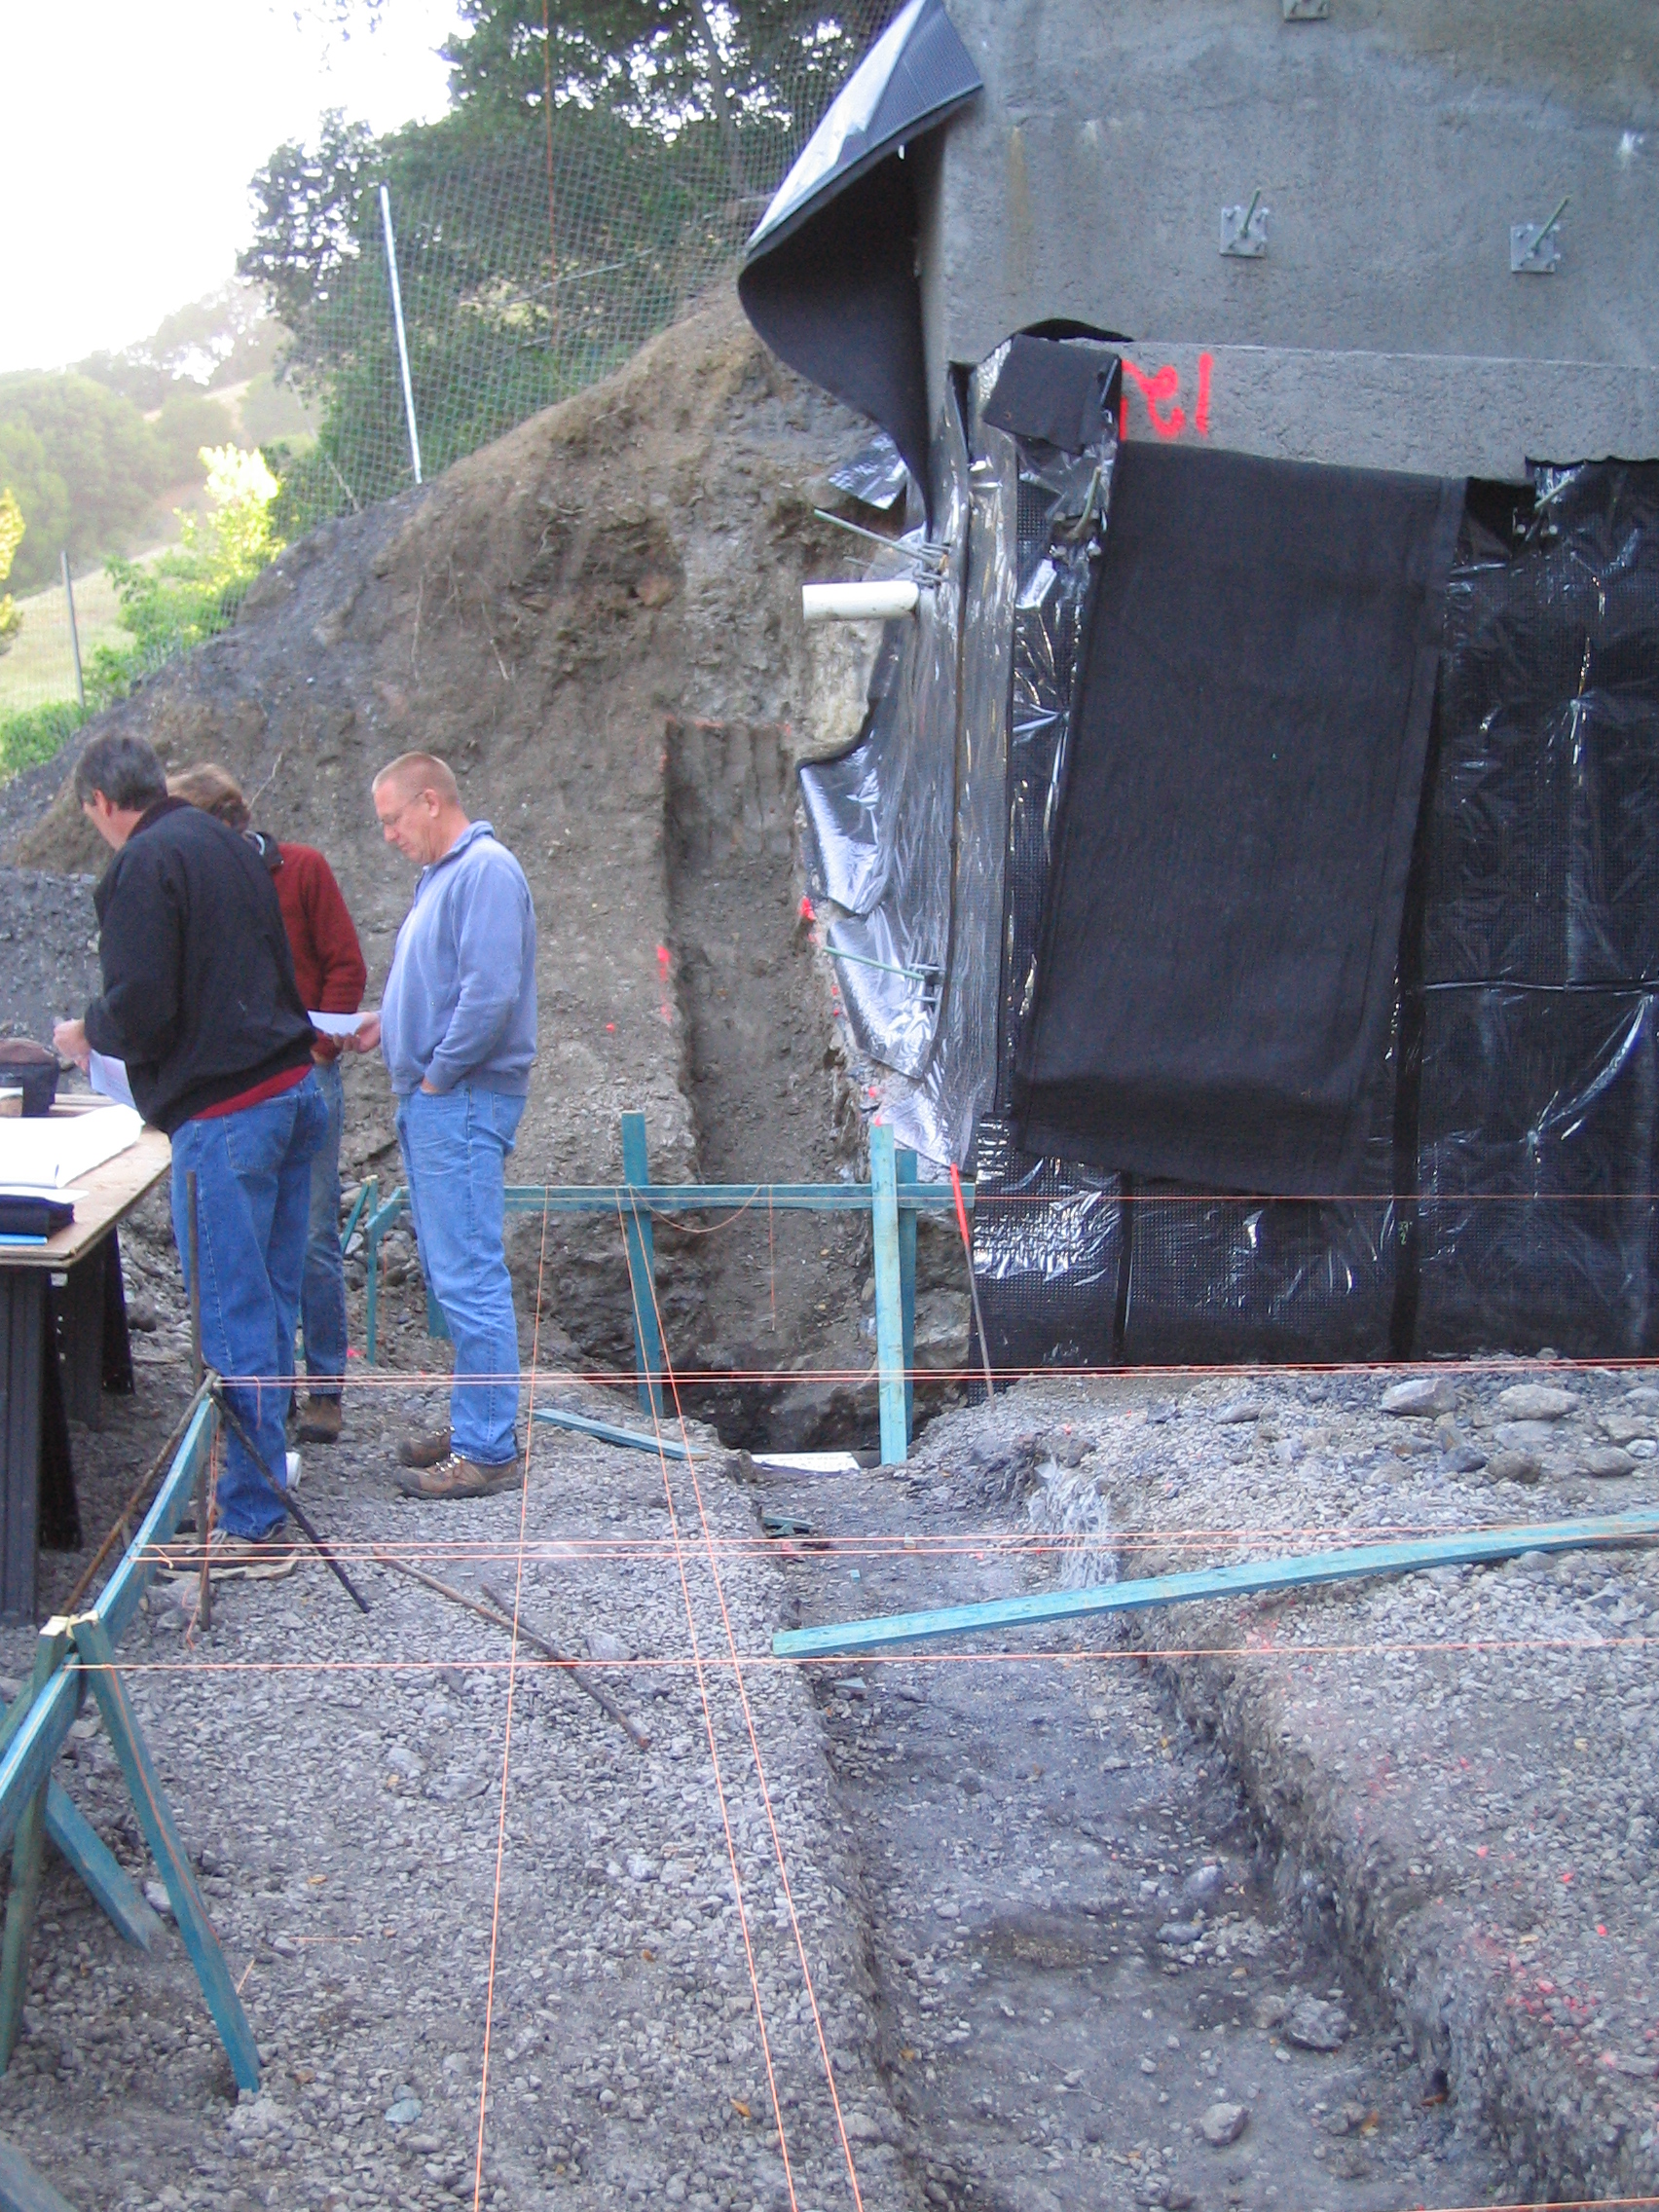
The foundation is built in layers, from the bottom up. We have 6” drain pipes installed all around the sides, under the edges of the shoring wall. Then the footers for the walls were excavated — these are 2 feet thick, but because the whole site was already dug too far down, the footer trenches are less than a foot deep. Here are the footer trenches for the front wall and the left side of the foundation on April 30th, with a drainage trench cutting across from right to left. The left wing wall footing will be in the trench that goes up the hillside in the background.
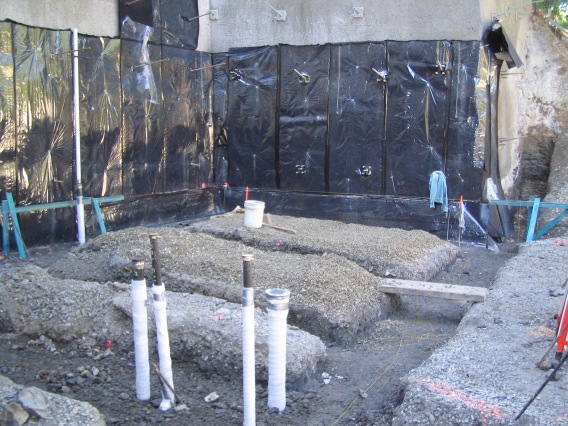
During the first week of May, the footers for the interior walls were excavated, trenches for the sewer line trenches were dug out, and sewer line laid in and positioned to come up through the foundation in the right location to meet the toilet on the 1st floor, and run up inside the walls to the 2nd and 3rd floors. Here are the sewer lines for the 1st and 2nd floor bathrooms, and the footers for all the interior walls. The big pipe in the middle of the picture is the 1st floor toilet sewer, and the other three pipes are going to be embedded in the wall, connecting to the 1st floor sink and up to the second floor. Two more sewer connections will be added after I took this picture, so the trenching isn’t done yet. The white pipe in the background is the drain that will go up to the kitchen, which will be inside another wall. The black stuff in the background is more drain matting, tied in to the drain pipes below the shoring wall. Notice how they have had to pile gravel on top of the middle parts, because the whole area was excavated too deep by our original contractor.
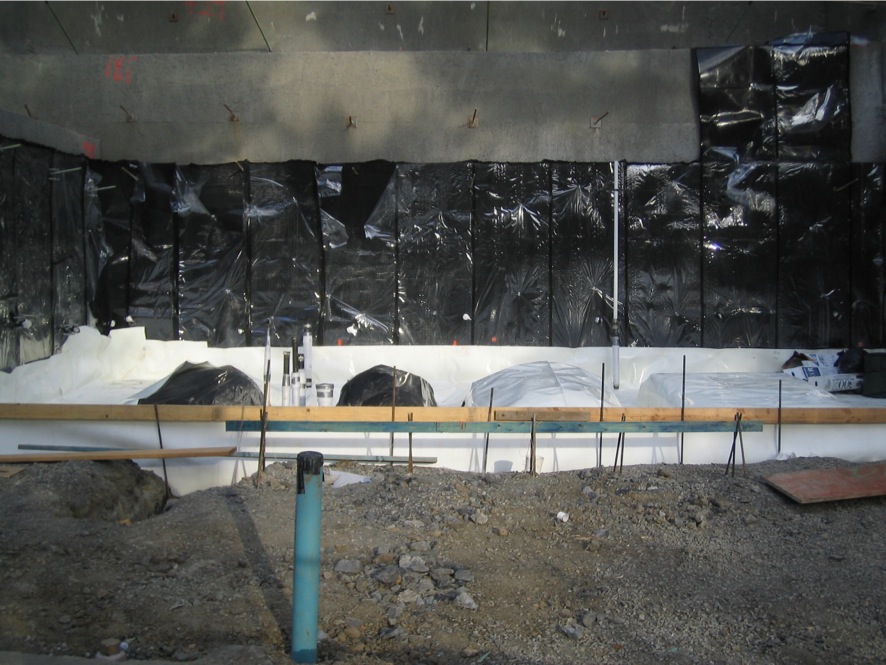
Here we are today, installing the waterproofing. We’re using a product called Preprufe, by W. R. Grace Construction. There is a layer of sand and some black plastic sheeting under the white waterproofing membrane, so that it won’t get punctured as people walk on it and install rebar next week. The membrane sheets are connected together with a seam-sealing tape, and a sealer called Bituthene is applied around the places where pipes and soil nails penetrate the membrane.
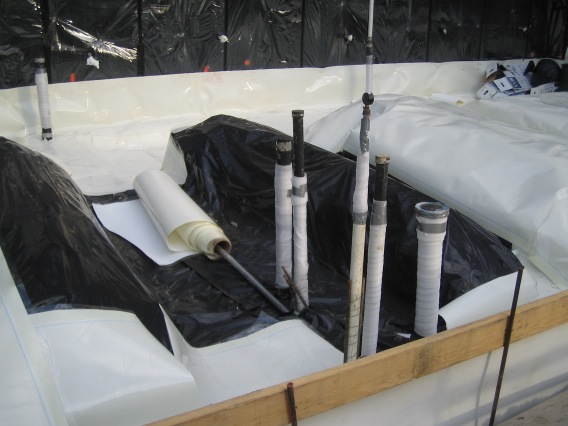
Our general contractor and electrician have already planned how they are bringing power in to the house on the right side corner, and how they are going to route power lines from there through the foundation and up the back side of the house. So they have assembled two big conduit pipes, and will lay them in the footer trenches before the rebar and concrete are put in. One conduit will bring power from the main panel by the garage door to the elevator controller under the stairs, and to a secondary panel on the 2nd floor in the laundry room. The other conduit is for the solar power system I hope to install one day, and will carry the 48-volt DC cables from the back yard and/or the roof down through the back walls to a grid-interconnect inverter next to the main junction box.